
Cold enameling, also known as epoxy enameling, is a fantastic technique for adding vibrant color to your jewellery without the need for a kiln. It’s a versatile process that allows you to create stunning pieces with a wide range of effects. Let’s dive into the steps involved in cold enamelling.
Materials Needed:
- Cold enamel (epoxy resin with pigment)
- Hardener
- Mixing cups and sticks
- Jewelry piece (metal, ceramic, or other suitable material)
- Toothpicks or needles (for detail work)
Preparation:
- Clean your jewelry piece: Ensure the surface is clean, dry, and free from any oils or residues. This will help the enamel adhere properly.
- Prepare your workspace: Work in a well-ventilated and well-lit envirenment (use cool-light to get the most accurate colours).
Mixing the Enamel:
- Measure: Carefully measure the epoxy resin and hardener according to the manufacturer’s instructions. Typically, it’s a 2:1 ratio (two parts resin to one part hardener).
- Mix: Combine the resin and hardener in a clean mixing cup. Stir thoroughly for several minutes to ensure a consistent mixture. Avoid creating air bubbles as this will show in the final piece.
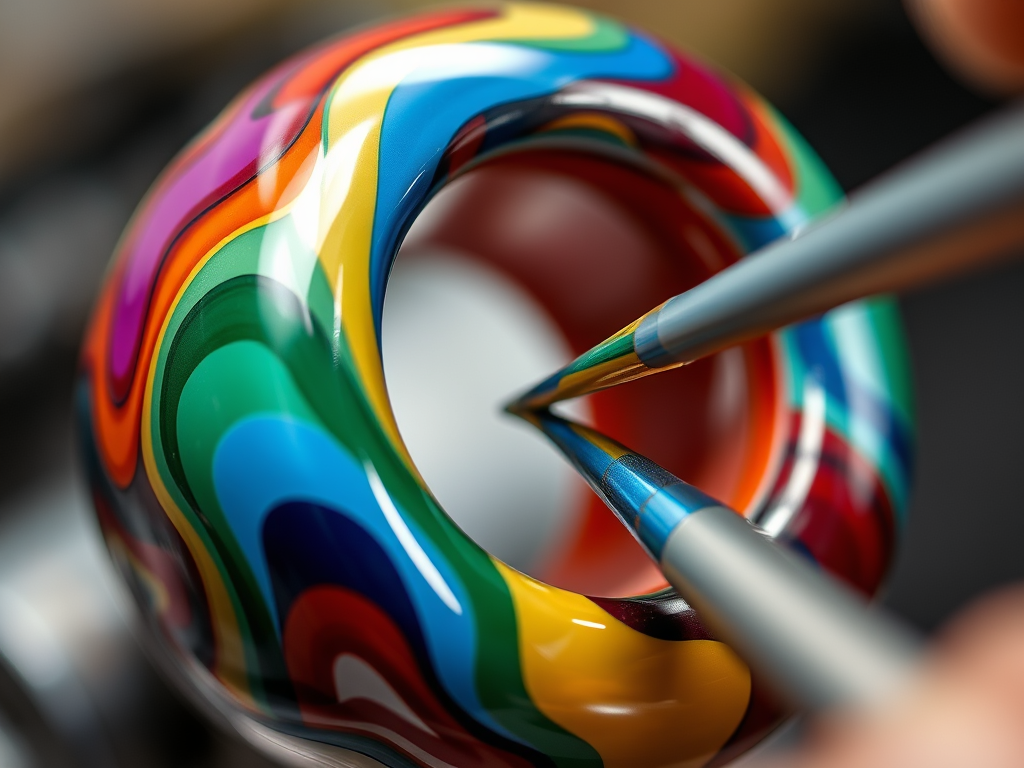
Applying the Enamel:
- Apply the first coat: Using a toothpick, brush, or applicator, apply a thin, even layer of enamel to your jewelry piece. Be careful not to overload the surface.
- Add details: If desired, use toothpicks or needles to create designs, patterns, or textures within the wet enamel.
- Apply additional coats: For thicker or more opaque coverage, allow the first coat to cure partially (check the manufacturer’s instructions for curing time), then apply additional coats as needed.
Curing the Enamel:
- Allow to cure: Place your jewelry piece in a dust-free environment and let it cure completely according to the manufacturer’s instructions. This typically takes 24-48 hours.
- Finishing touches: Once cured, you can apply a protective topcoat if desired.
Tips for Success:
- Work quickly: Once the epoxy and hardener are mixed, you have a limited working time before the mixture starts to cure.
- Avoid air bubbles: Stir gently to minimize the formation of air bubbles, as these can affect the appearance of the finished piece. Use a lighter to gently reduce bubbles.
Cold enameling is a rewarding and versatile technique that opens up endless possibilities for your jewellery designs.
Contact us for any specific design ideas you may have on your jewellery pieces.
